
Linux / Unix
Security, Administration, Virtualization and More
Getting Started
Linux Installation, Booting, and System Design
User and System Administration Commands
The Linux Kernel
Networking
Kerberos, LDAP, Samba, and Active Directory
Linux and Security
FreeBSD and OpenBSD
Web and Electronic Mail — Firefox, Chrome, Thunderbird, Nginx, and Apache
Devices and Multimedia
Fixing the Problems Causing Warning and Error Messages
Raspberry Pi
Which model and how much memory?
$ cat /sys/firmware/devicetree/base/model
$ grep MemTotal /proc/meminfo
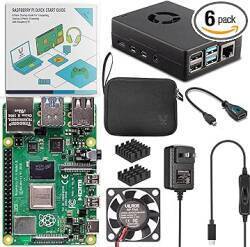
Amazon B07XTRFD3Z
Virtualization
CyanogenMod on Samsung Galaxy Smart Phones
Other Varied Linux/Unix Topics

